Fansly is the second most popular platform in the world for adult content creators. Unlike the well-known OnlyFans, Fansly openly embraces the fact that its audience is looking for intimate interactions with models — and actively promotes this direction.
Many people want to start earning on Fansly but have no idea where to begin. In this article, we’ll walk you through how to create an account, complete the verification process, set up your profile correctly, and configure your initial settings. We’ll also show you examples of successful content creators on Fansly and break down the key factors that influence success.
How to Register on Fansly and Become a Content Creator
To sign up on Fansly, go to this page and choose a convenient login method. You can sign in with your Google account, social media, or enter your email and create a password manually.

It’s best to use an international email service such as Gmail, as these tend to be more reliable.
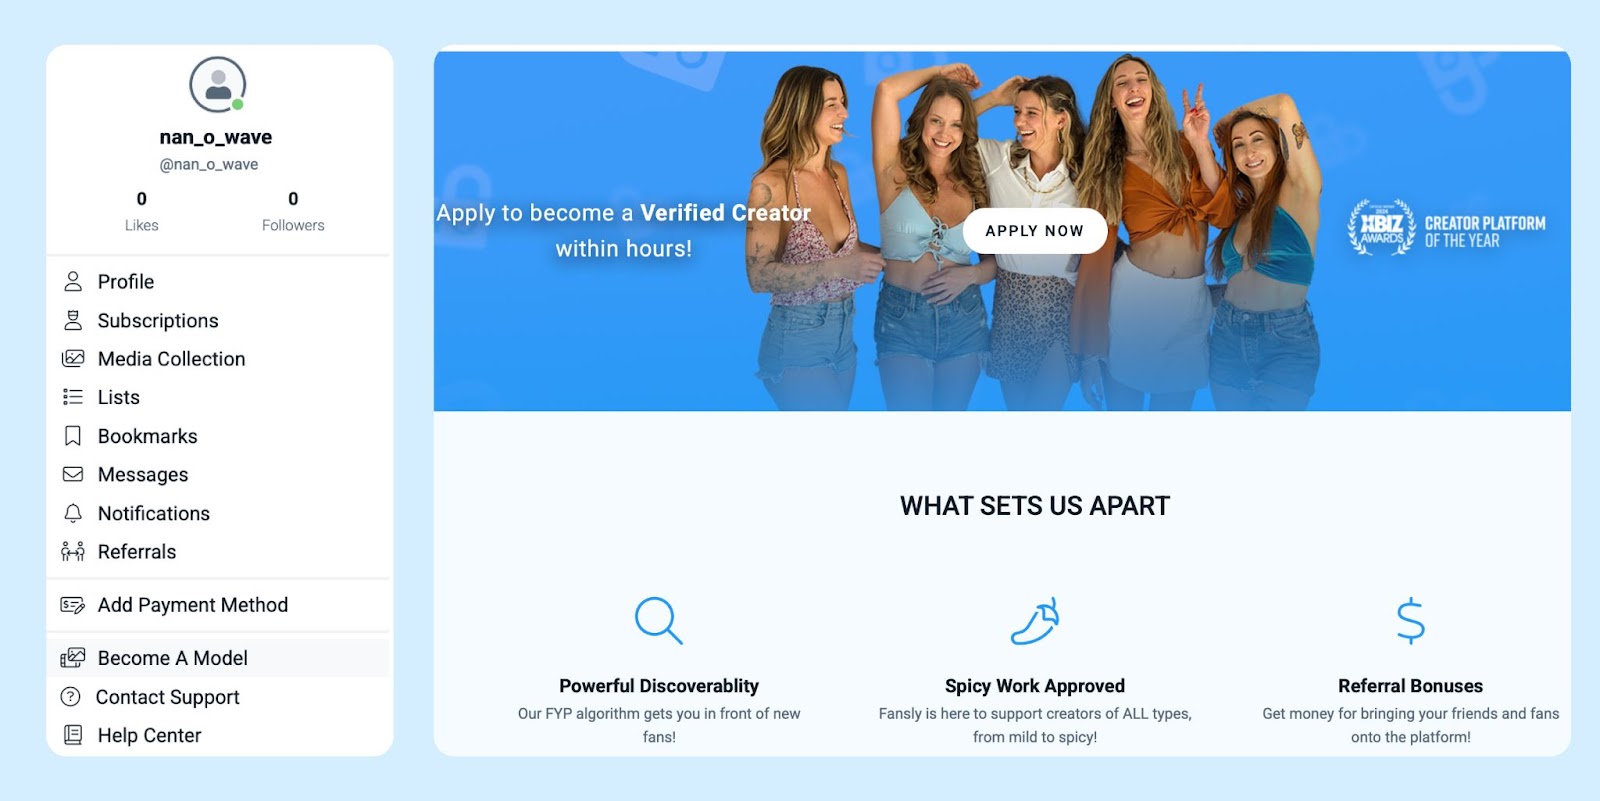
Once you’re signed in, go to the “Become a Model” section. You’ll find it in the right-hand panel that appears when you click on your profile icon at the top of the page.
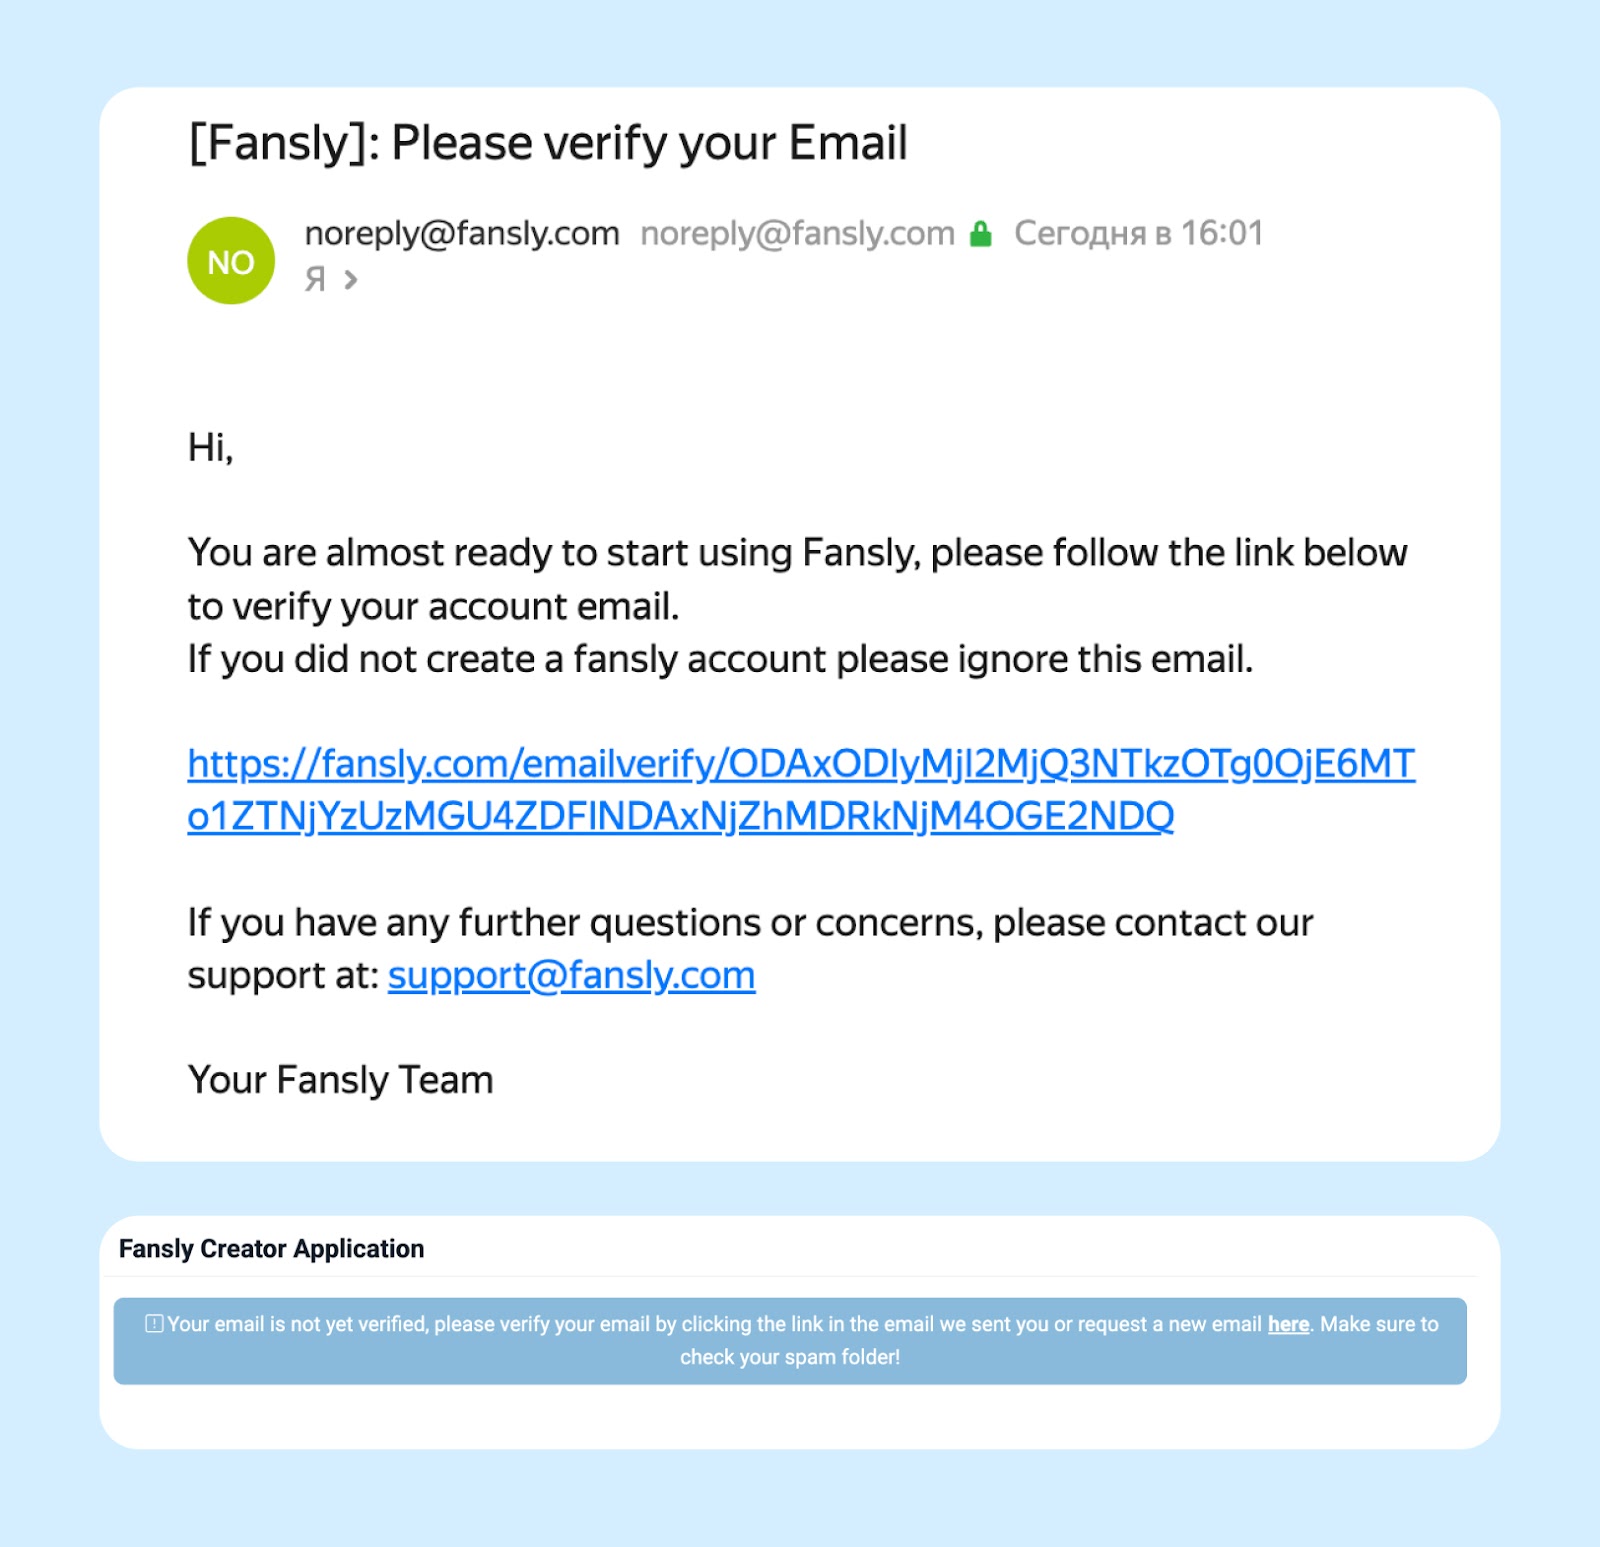
Next, you’ll need to verify the email address you used during registration. To do this, check your inbox and click the verification link in the message sent to you.
Your account is now set up, but it still needs to be verified. Below, we’ll explain how to do that properly.
How to Verify Your Fansly Account and Apply to Become a Model
To start earning on Fansly as a model and to receive payments from users, you must first complete the account verification process.
If you’re a resident of Russia, Belarus, Ukraine, or Kazakhstan, there are no restrictions — accounts can be verified using documents from any of these countries.
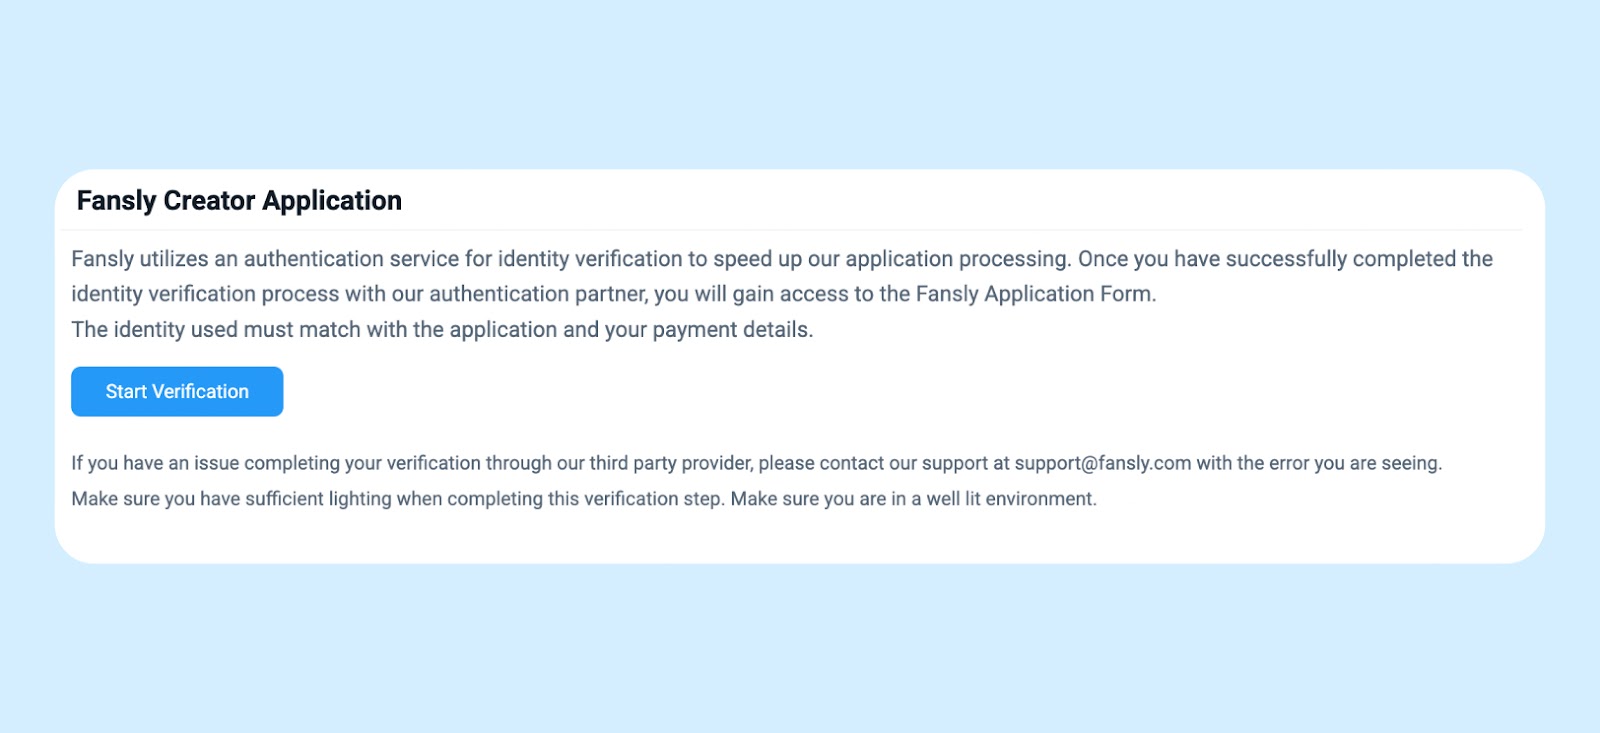
The process itself is straightforward and usually takes just a few hours. It can be broken down into two main steps: identity verification and submitting your application.
Account Verification
Start by clicking the “Start Verification” button and selecting the device you’ll use for the process. Using your phone is usually the most convenient option, since you’ll need to take photos of your ID and a selfie.
After selecting your device, you’ll be redirected to a page where you can choose one of the accepted forms of identification: a passport, driver’s license, international passport, or national ID card.

Next, find a clean, well-lit surface, place your document on it, and align it within the frame. If everything is positioned correctly, the system will automatically capture the image.
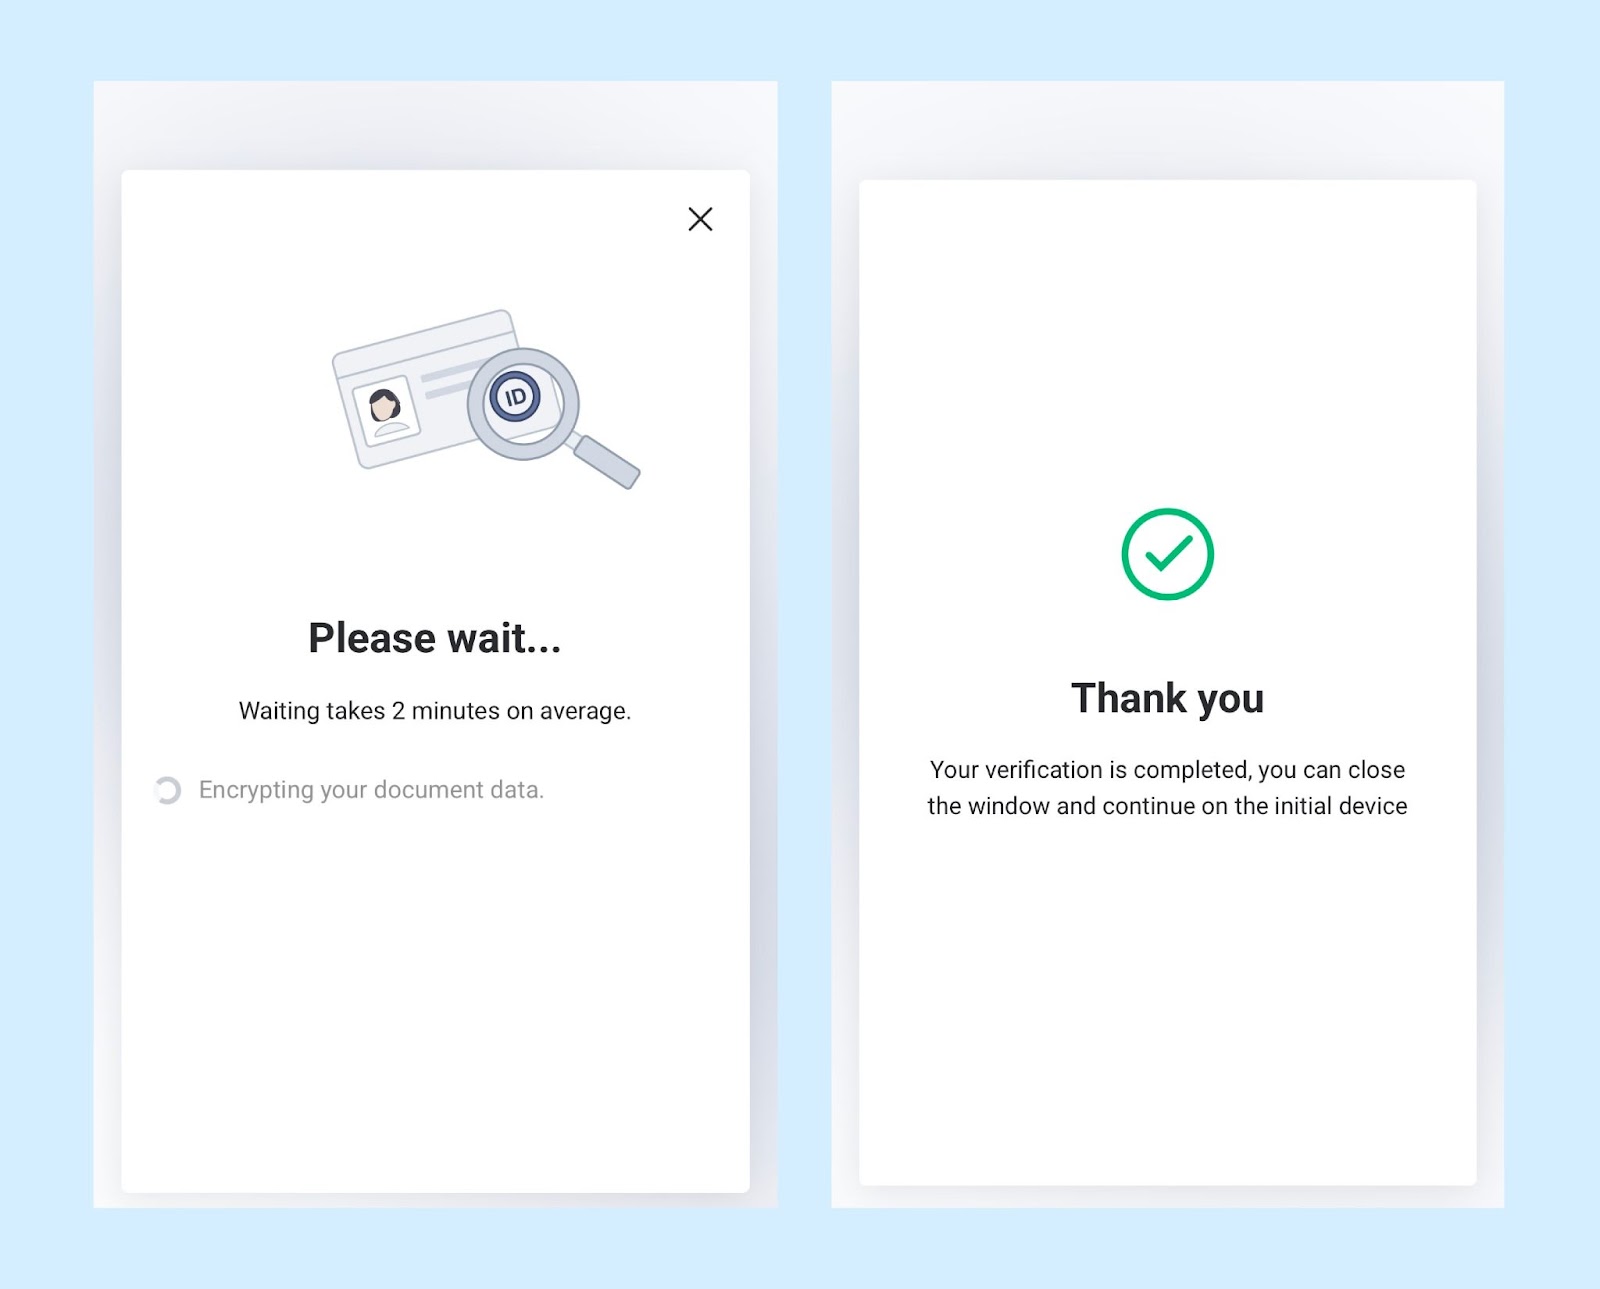
After that, you’ll be asked to record a video selfie. Make sure to move your hair away from your face, keep a neutral expression, and choose a spot with good lighting.
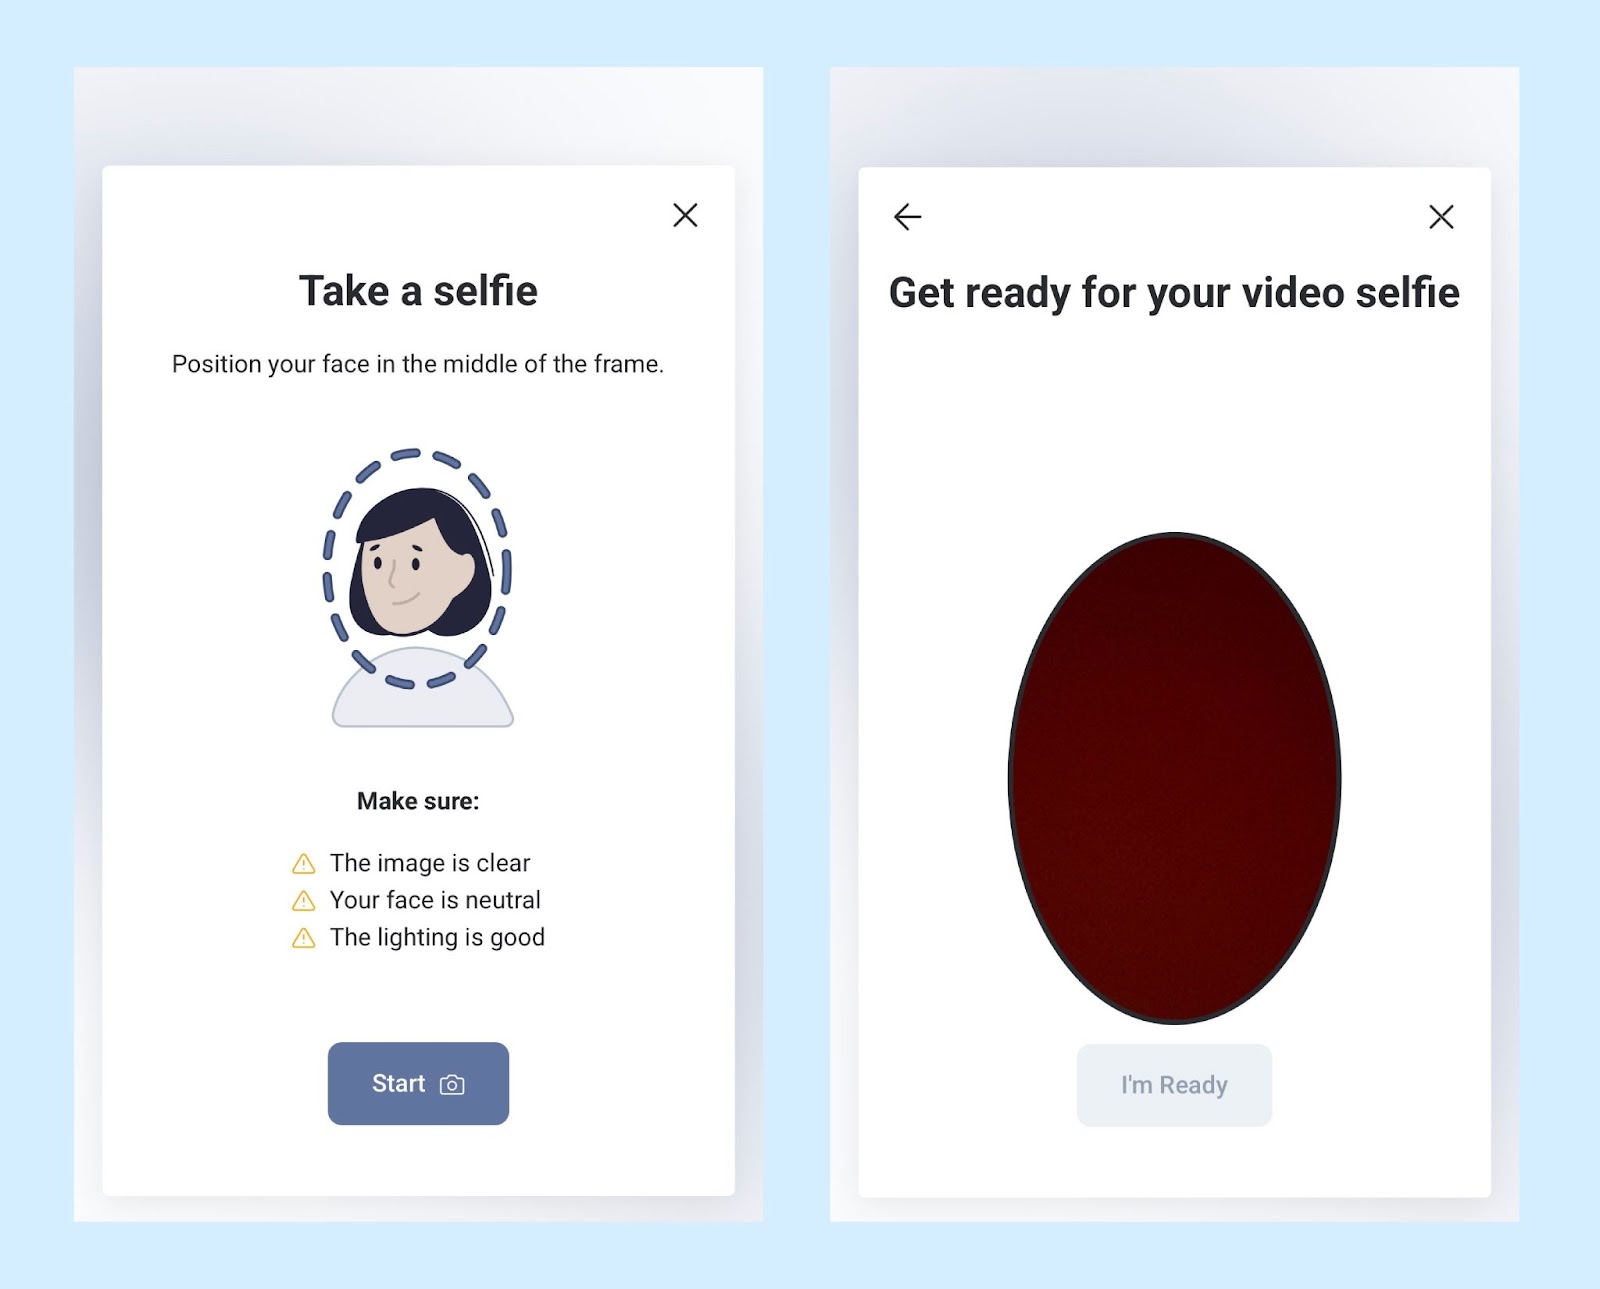
To begin, position your face within the frame. The system will then ask you to move closer to the camera and hold still.
Sometimes you may need to repeat the process a few times if the selfie doesn’t pass automatic verification. But if everything is submitted correctly, your documents will be sent for review. You can monitor the status of the verification in real time.
How to Apply to Become a Fansly Model
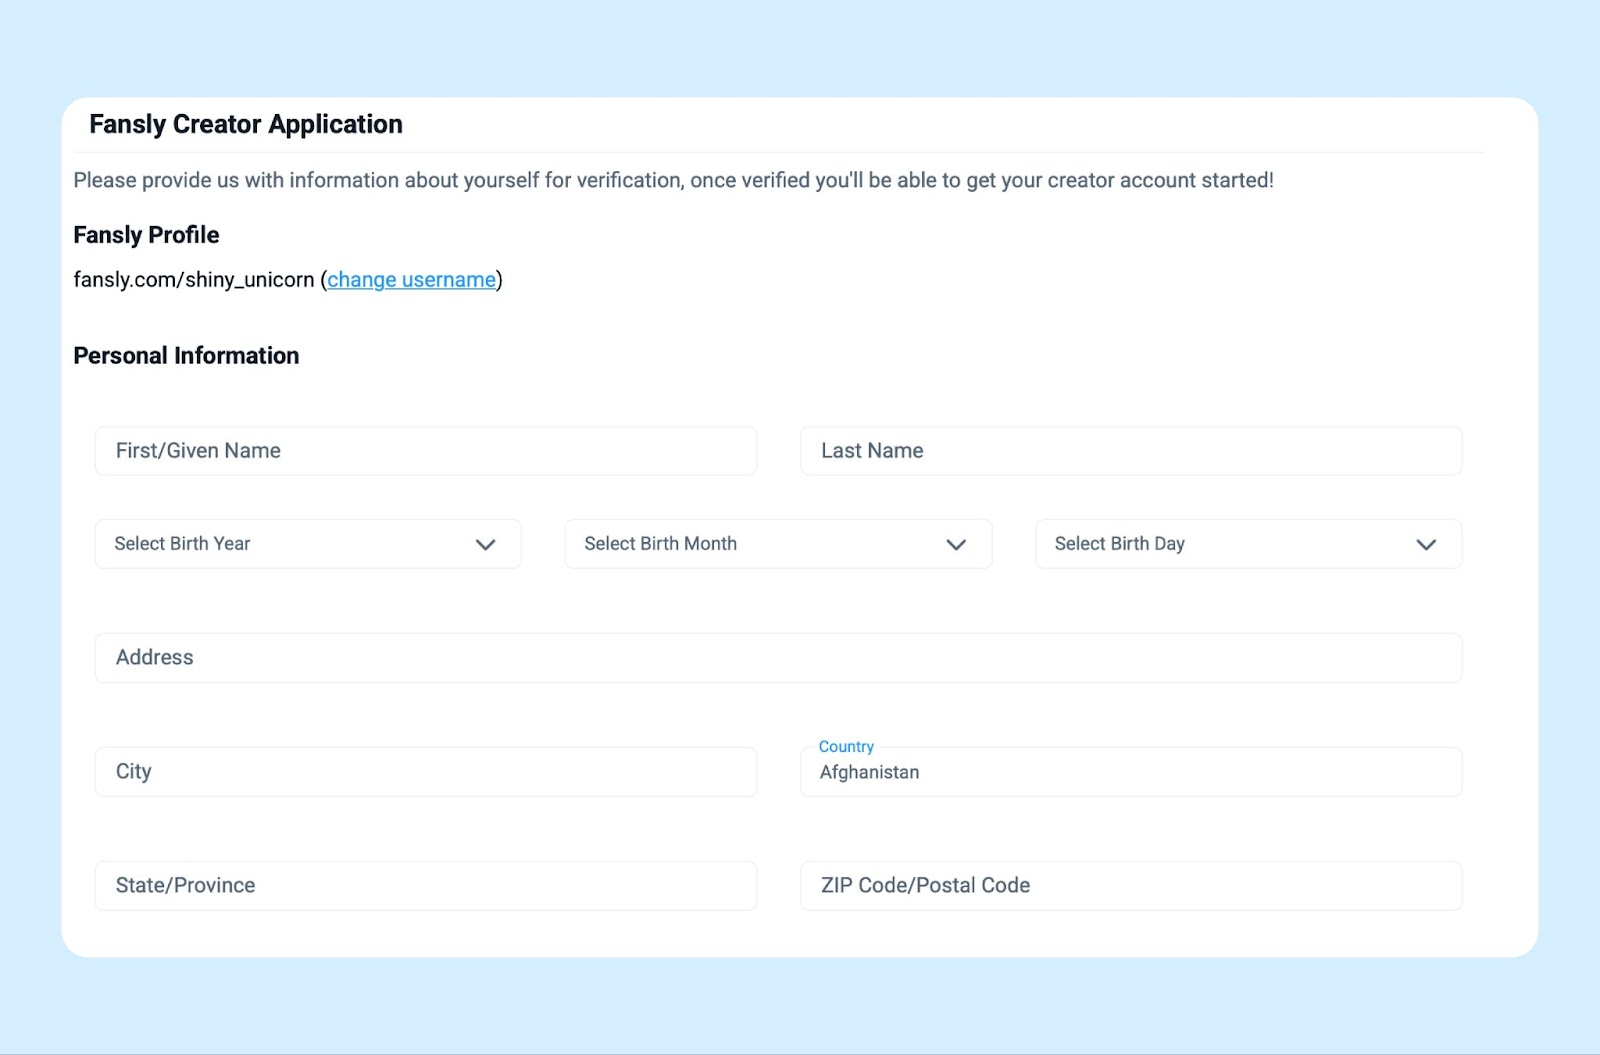
Once your account is verified, you’ll be able to submit an application to become a model on Fansly. To do this, you’ll need to complete a detailed form, provide all the required information, and link your social media accounts. Here’s how to do it properly.
At the beginning of the form, you’ll be asked to enter your basic personal details: full name, date of birth, home address, and postal code.
Make sure to provide accurate information. It’s used only for identity verification by the Fansly team and won’t be visible to anyone else.
Next, you’ll need to provide links to all of your actual social media accounts.
If you’re already an established creator — for example, if you have an OnlyFans — include links to your professional profiles on platforms like Instagram, Twitter, or other adult sites.
If Fansly is your first step into the industry and you’re just getting started, you should still link your real personal accounts.
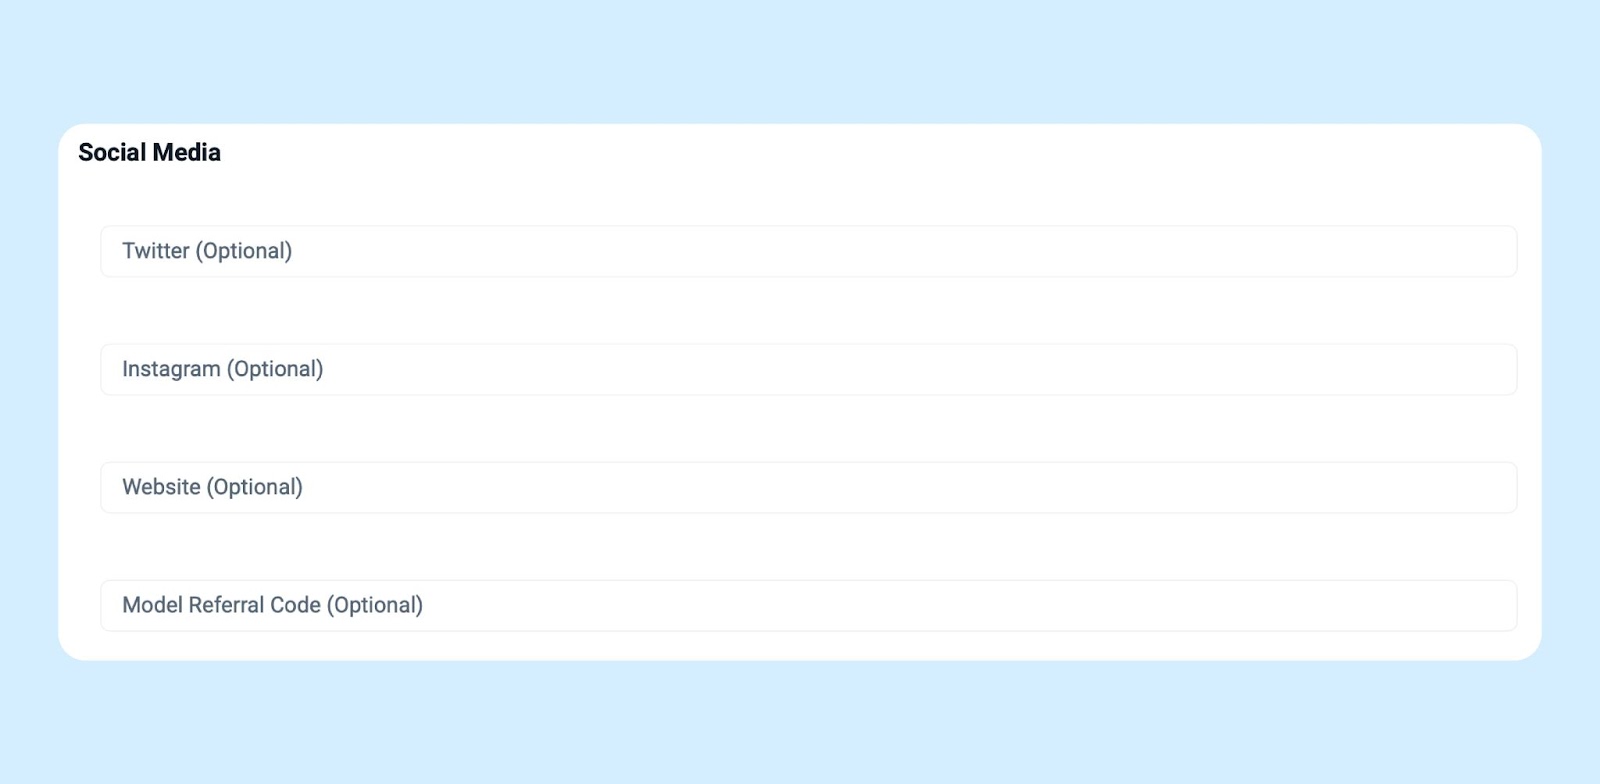
Although the form says this step is optional, in reality, it’s very important.
It helps moderators confirm that you’re a real person registering on the platform willingly. This information won’t be shown on your profile and is used only for internal verification.
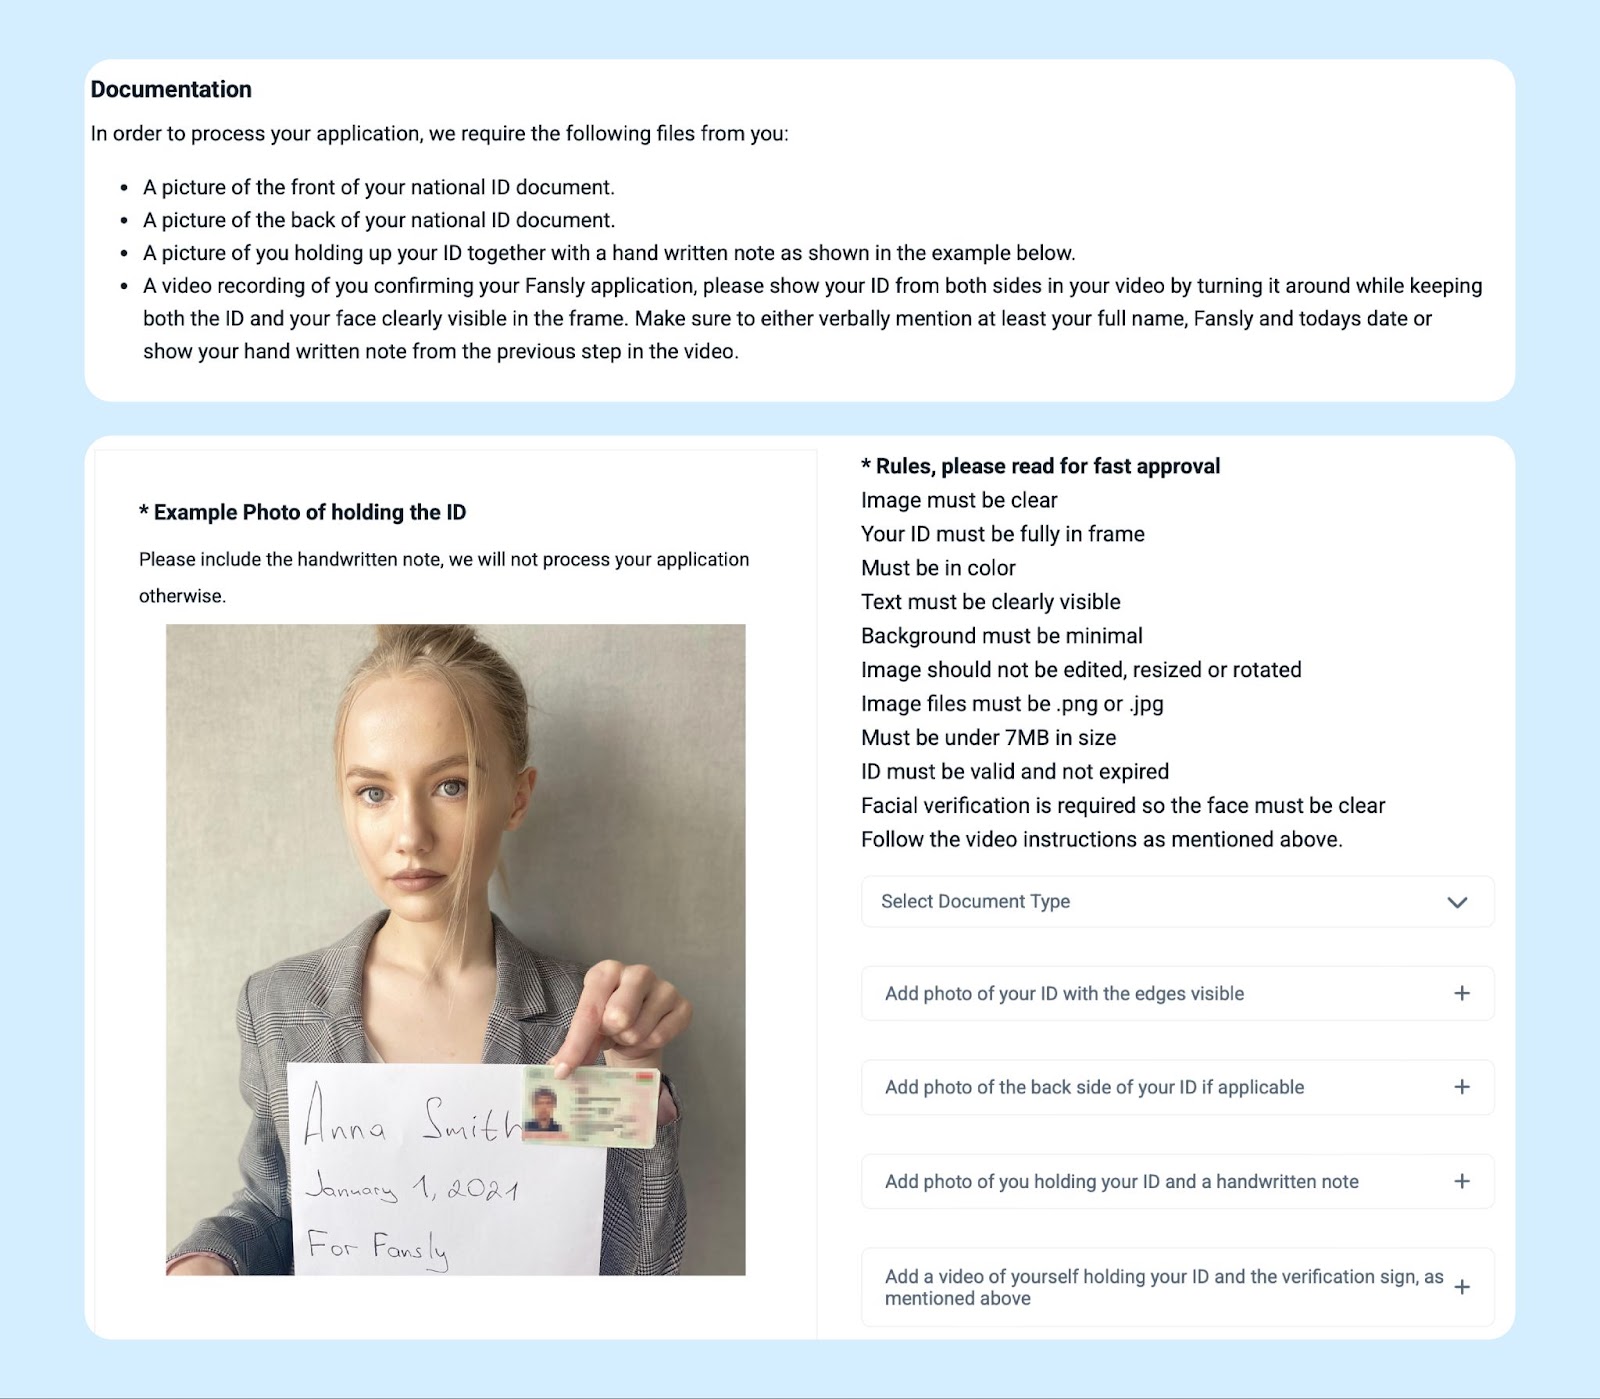
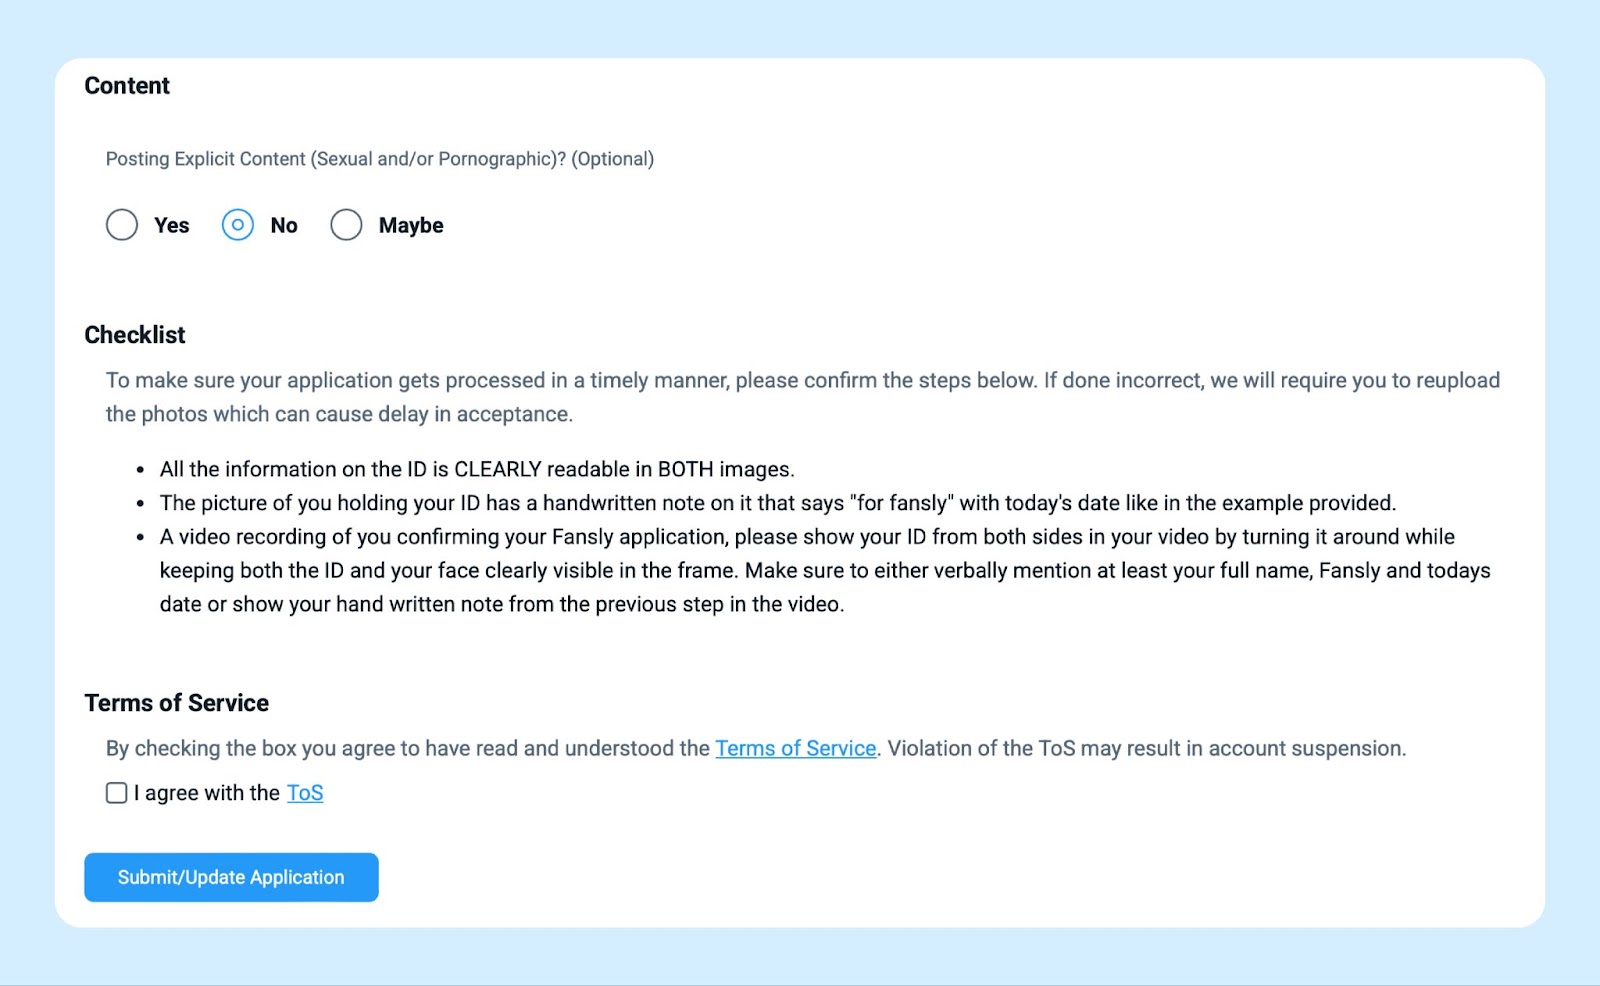
To complete the application, you’ll need to fully confirm your identity. Fansly’s system will ask you to upload several photos and a short video:
- A photo of the front side of your ID document
- A photo of the back side of your ID document
- A photo of you holding your passport or ID next to a blank sheet of white paper with your name, date, and the phrase “For Fansly” handwritten in Latin letters, as shown in the example
- A short video in which you confirm your application. You’ll also need to show both sides of your passport or ID. Your face must remain clearly visible and within the frame the entire time. Don’t forget to include the handwritten note from the previous step.
Once everything is filled out, you’ll be asked whether your page will include explicit content.
After that, you can submit the application for review. The process usually takes anywhere from a few hours to a couple of days.
Setting Up Your Fansly Profile
Once your application is approved by the Fansly team, you’ll gain access to all model tools — which means it’s time to set up your page and customize your profile.
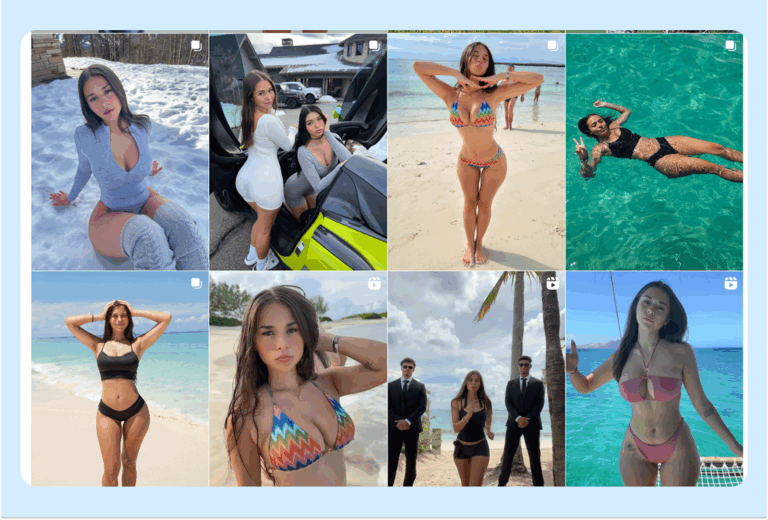
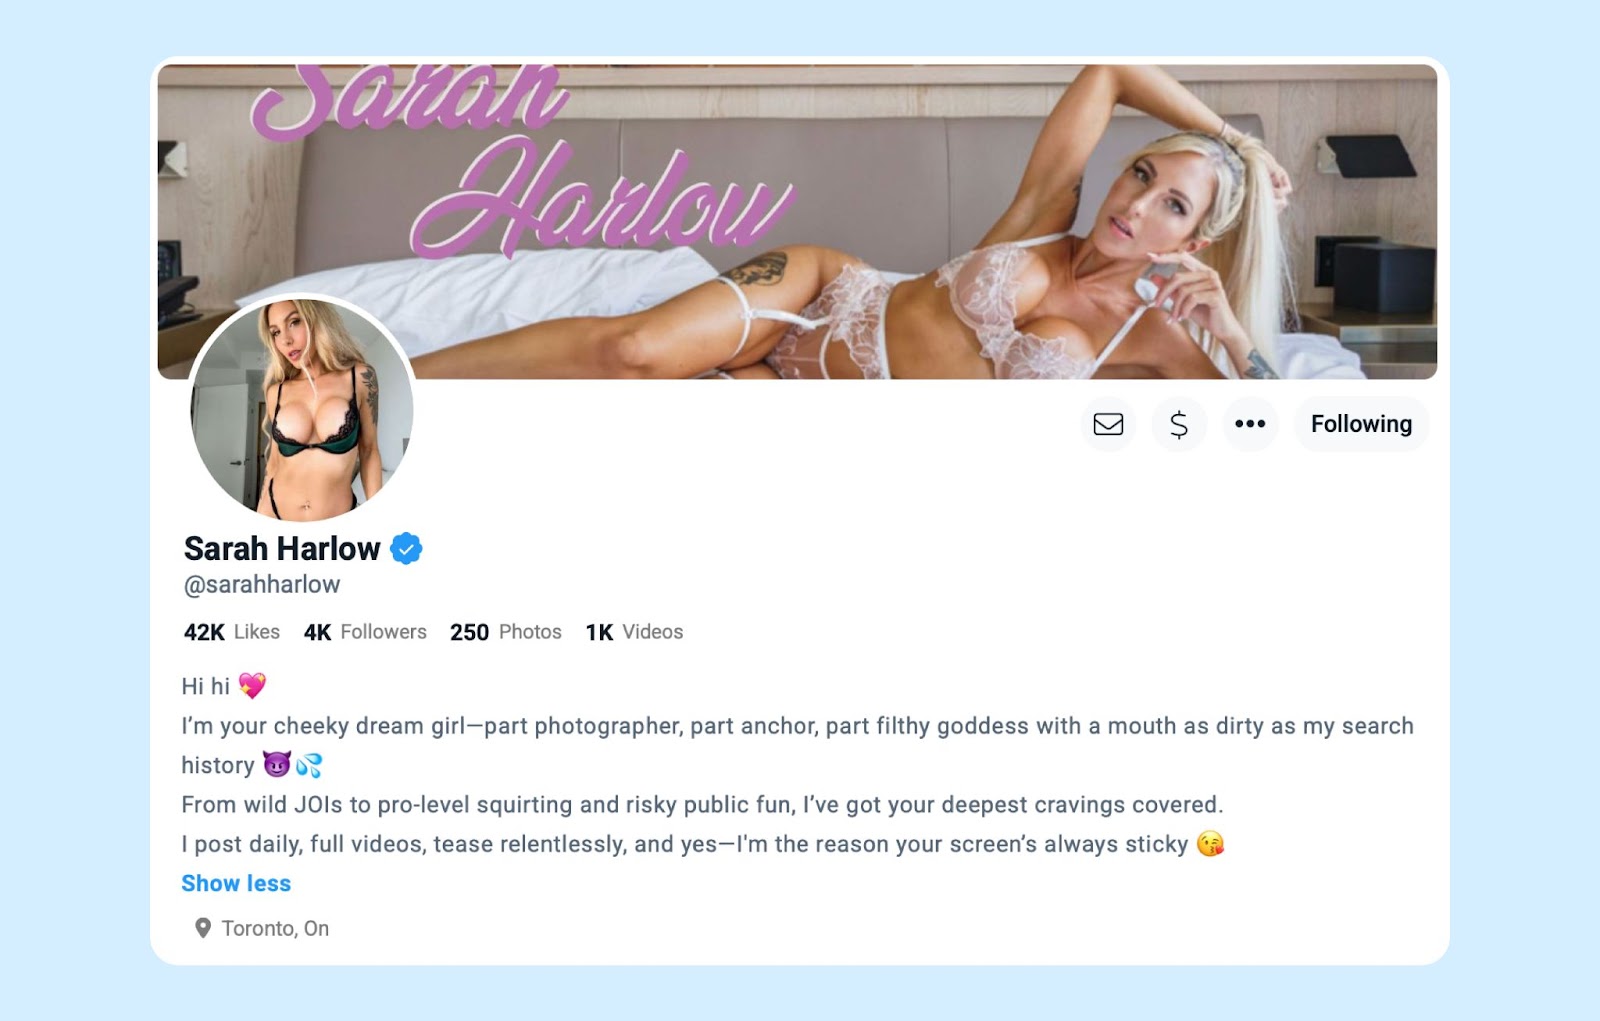
Start by choosing and uploading a profile picture and a banner. The profile picture is usually a close-up of your face — something eye-catching and recognizable that reflects your content style. As for the banner, a horizontal shot of you lying down, for example, often looks natural and visually appealing. The recommended size for the banner is 3261×1126 pixels.
Keep in mind that your banner will be cropped differently depending on the device — so make sure to place all key design elements within the central safe zone to avoid anything important getting cut off.
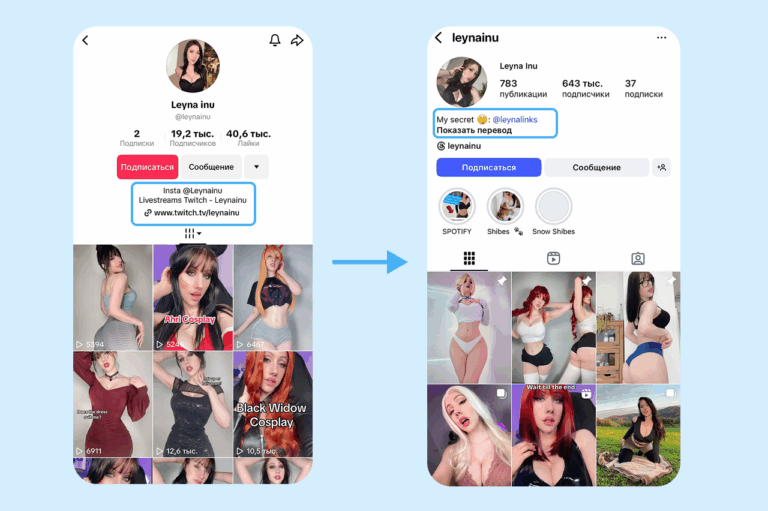
Early on, you should also choose your display name carefully. It’s your personal brand and what fans will remember and associate with you.
In the “About” section, write a few sentences about yourself and the kind of content you offer. Try to make it creative and intriguing to spark interest from potential subscribers.
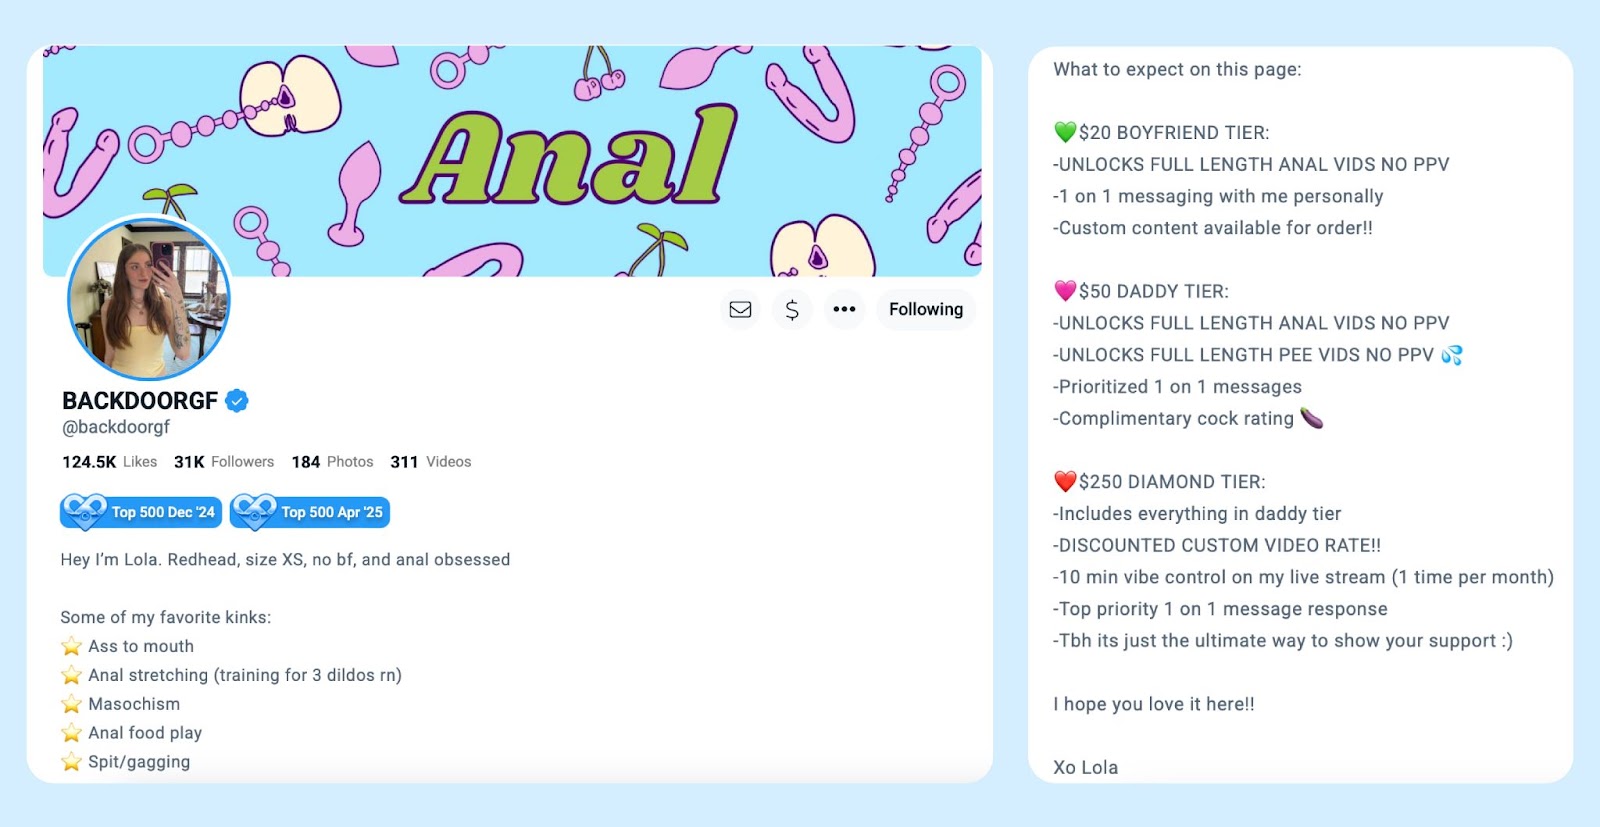
For example, you can mention your niche — whether it’s modeling, cosplay, or fitness — as well as the unique aspects of your content and your posting schedule.
Make sure to follow the platform’s rules. It’s not allowed to reference any restricted topics or services.
Fansly also allows you to add several tags to your profile. To do this, click on the “Tags” tab and select categories that best describe your content.
These might include tags related to your appearance, the type of content you create, and so on.
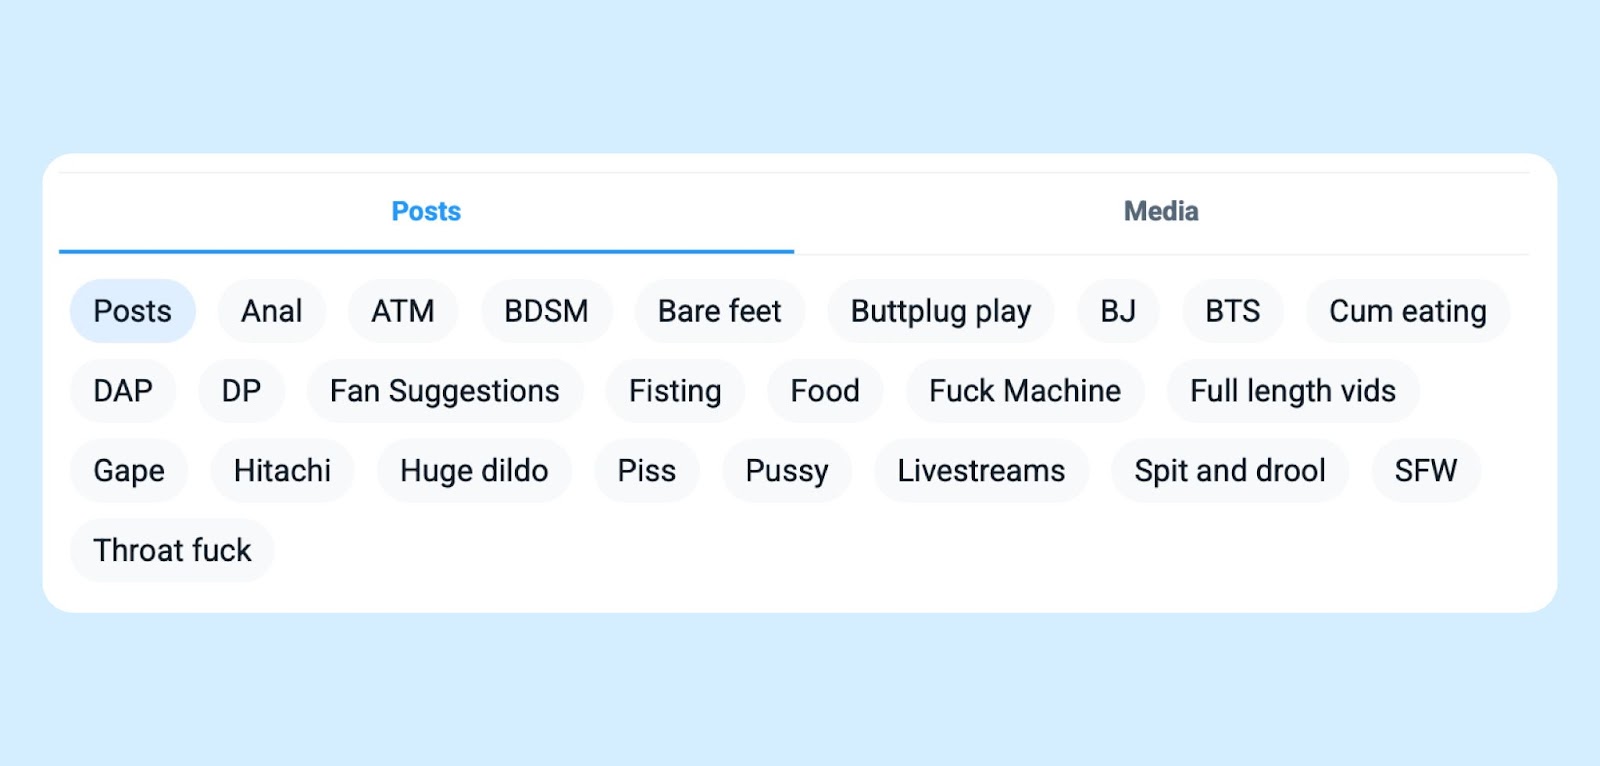
Correct tags help Fansly’s algorithm recommend your account to the right audience, so take time to choose them carefully.
If needed, you can also block access to your profile from specific countries or regions — for example, to keep people from your home country from finding your account. To do this, go to the “Settings” section and open the “Privacy & Safety” tab. There, you’ll find a geo-blocking option that allows you to blacklist specific countries, states, or cities. Many creators from CIS countries choose to block their region for added privacy, but the decision is entirely up to you.
Fansly also offers additional tools. In the “Creator Dashboard”, you can set up an automatic welcome message for new subscribers.
This is a great way to thank them for subscribing and offer something extra — such as a discount or a gift.
You can also enable automated messages for different events, like subscription renewals, tips received, and more. These tools help you stay connected with your audience.
Don’t forget to review your stats in the Creator Dashboard as well. You’ll find data on your income sources and audience insights, which can help you refine your content strategy.
Before publishing your first post, make sure your page is fully set up:
- Profile photo and banner uploaded
- Description and tags added
- Subscription tiers and prices configured
- Welcome and auto-messages enabled
- Geo-blocking settings applied, if necessary
Now you’re ready to start creating and monetizing content.
The final step is setting up payouts.
Payout Setup and Withdrawing Funds from Fansly (for CIS Creators)
Fansly works with several payment providers and supports different payout methods for creators. These include direct bank transfers, e-wallets, and cryptocurrencies.
The availability of each option depends on your region, due to financial regulations and sanctions.
Here are the main payout options available on Fansly:
Bank Transfer
This is a traditional method — sending funds directly to your bank account. Fansly can process payouts via international SWIFT transfers in USD or EUR, or through local bank deposits in national currency. The minimum amount depends on the transfer type: typically $20–50 for local ACH/SEPA deposits, and $100 for international SWIFT transfers. Note that your bank may charge fees for receiving international payments and might convert the currency at its own rate if your account isn’t in USD. It’s recommended to check your bank’s fees in advance to avoid surprises. Funds usually arrive within 1 to 5 business days after the payout is sent. However, this method is not suitable for creators living in CIS countries.
E-wallets
Fansly supports direct withdrawals to several payment systems. Most notably, payouts are available to Paxum and Cosmopayment — these services let you receive funds in USD and then withdraw to a card or bank account. The minimum withdrawal amount to Paxum and Cosmo is \$20. Once your payout request is processed, funds typically arrive in your wallet within one business day. Withdrawing from the wallet to a card is a separate step, which may include additional fees and restrictions. These e-wallets are a popular choice among international creators due to wide availability, although total fees may be higher compared to other options. For creators in CIS countries, this is usually the most practical payout method.
Cryptocurrency
Fansly also offers crypto payouts as an alternative option.
You can withdraw your funds in major cryptocurrencies like Bitcoin and Ethereum, as well as stablecoins such as USDT, USDC, and FDUSD.
To use this method, you’ll need a crypto wallet. The minimum withdrawal amount is $100. Fansly doesn’t charge any fees for crypto payouts, but you will have to pay standard blockchain transaction fees and possibly additional costs if converting or transferring funds to a card.
All money earned on Fansly first appears in your account balance with a “Pending” status. This holding period lasts for seven days from the time a fan makes a purchase — it serves as a buffer in case of refunds or fraudulent activity. After seven days, the funds move to “Available” status and can be withdrawn at any time. To request a payout, go to “Request Payout, choose the amount, and select a connected payout method.
The minimum withdrawal request is usually $20.
Conclusion
Getting started on Fansly from Russia, Belarus, Ukraine, or Kazakhstan is easy and accessible — unlike on OnlyFans.
The platform also offers more tools for creators and responsive support.
Wishing you a successful start!